Welcome to Hydra Miniatures-The Leader in Retro Sci-Fi
News
__________________________________________
Hydra Holiday Sale and New Zenithian Walkers
November 23,, 2022
Greetings, Cadets!
Hydra Miniatures is running its annual Holiday Sale with 20% off all items. The sale runs from Friday, November 24th through Friday, December 1st (11:59 EST). All items, including new releases, are on sale, and prices will be marked accordingly. No coupon code is necessary.
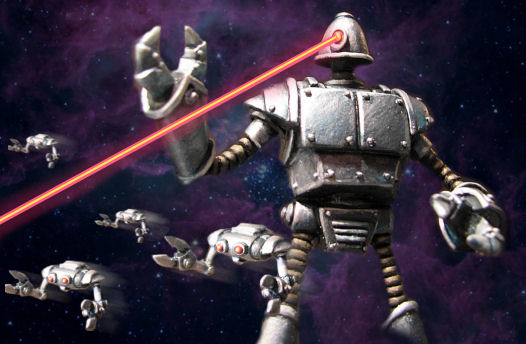
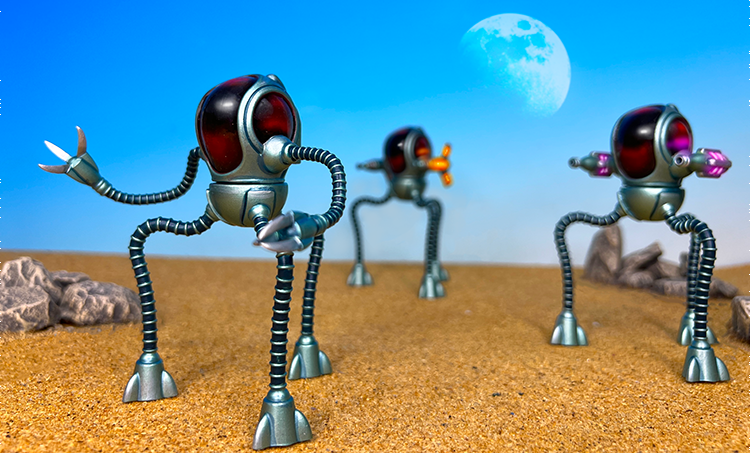
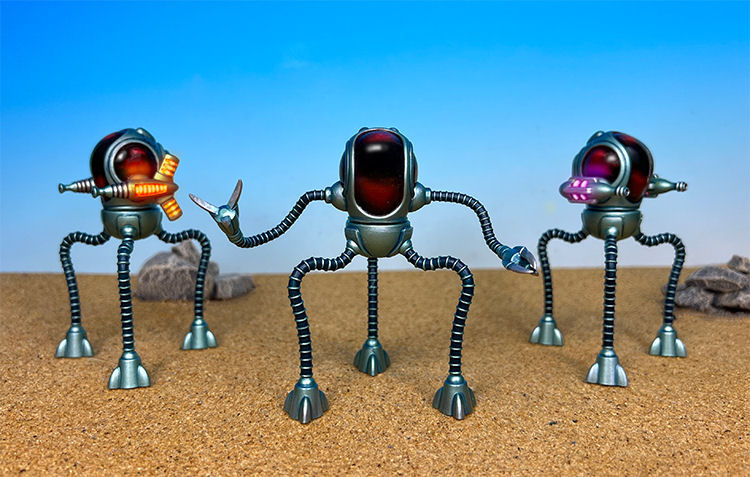
The Zenithian invasion force is getting much-needed reinforcement in the form of massive tripod walkers. These huge multi-part 3D printed resin models were sculpted by the immensely talented Phillip Beauchamp. The walkers stand 4.25” (107mm) tall and come in three variants: Zenithian Walker with Disintegrators, Zenithian Walker with Claws, and Zenithian Walker with Heat Rays. These models are 32mm (heroic 28mm scale) but could be used in a variety of other scales. The ground will tremble as the Zenithian war machines destroy everything in their path.
As always, Hydra Miniatures is grateful for your support. We wish you a happy holiday season, and hope to bring you many new products in 2024 such as the Robot Legion fleet for War Rocket, 30mm Space Pirates for Retro Raygun, and possibly another epic project!
__________________________________________
Neptonians--The Creatures from the Comet (Force List for Retro Raygun)
November 22,, 2022
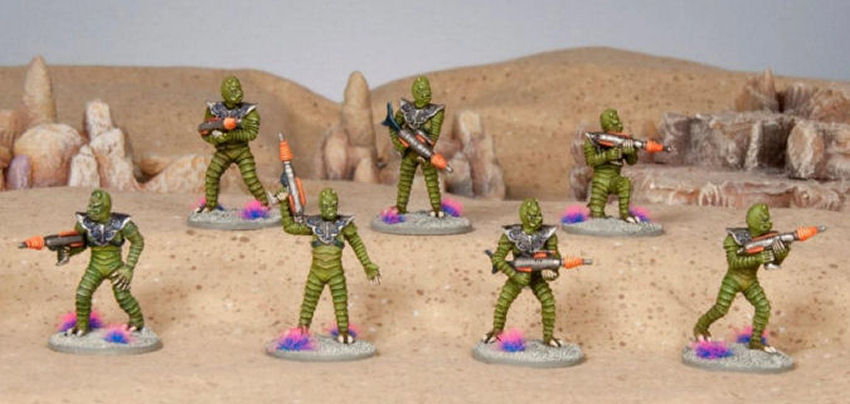
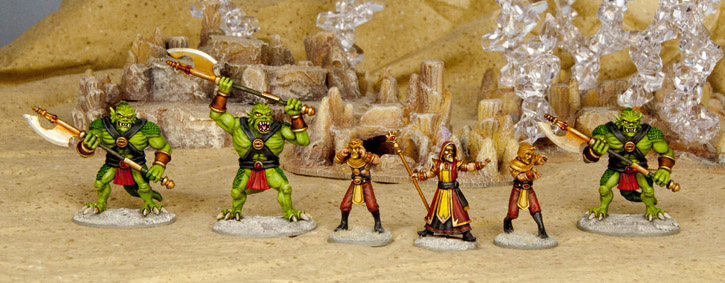
Greetings, Cadets! We are very excited for the launch of a collaborative project between Hydra Miniatures and Khurasan Miniatures--the Neptonians! Khurasan Miniatures is releasing the entire range of these B-movie baddies on Tuesday, November 21st, 2023. Hydra Miniatures will be releasing a complete Neptonian force list for use in your Retro Raygun games. The Neptonian miniatures are fully compatible with our Retro Raygun range of miniatures. We hope you'll support this exiting collaboration!
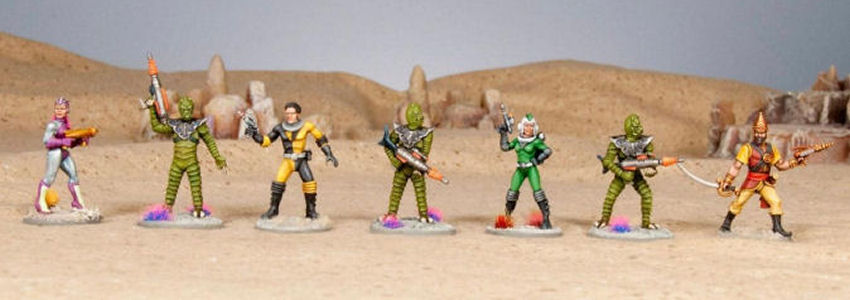
Comparison photo of Neptonians with Retro Ragyun 32mm miniautres.
Neptonian miniatures available from Khurasan Miniatures:
https://khurasanminiatures.tripod.com/
Neptonian force list for Retro Raygun available from Hydra Miniatures:
http://www.hydraminiatures.com/downloads.shtml
___________________________________________
Hot New Releases from Hydra
November 22,, 2022
We have been busy at Hydra HQ and have a lot of new Galacteer releases for Retro Raygun. We are very excited to introduce the Astro Angels, an all-female branch of the Galacteers, complete with a sergeant, an engineer and a support gunner armed with an Atomic Grenade Launcher.
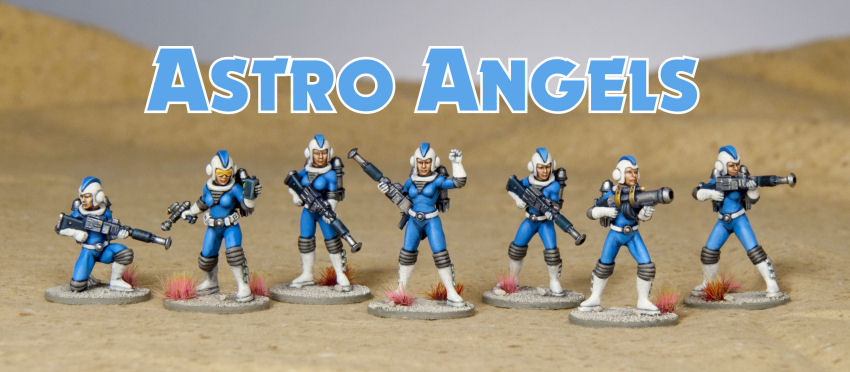
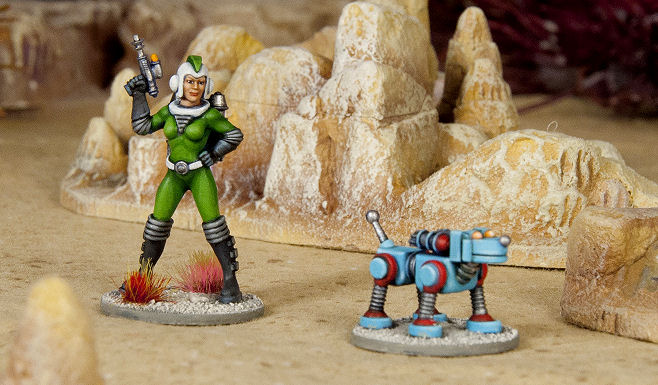
In addition, our core Galacteer range has been expanded with a beautiful new sculpt for Jane Hunter. Sculptor Ari Nielsson did an amazing job on the Angels and the updated Jane Hunter. The original Jane model is still available and has been moved to our Special Editions category. Finally, we are so happy to announce the arrival of everyone's favorite mechanical pet, Max the robo-dog. Super sculptor Phillip Beauchamp nailed the retro look of Max. The miniatures were expertly painted and photographed by master painter Matthew Leahy. All miniatures are 32mm (heroic 28mm scale) and cast in lead-free pewter.
As always, Hydra Miniatures is grateful for your support. We wish you a happy holiday season and hope to bring you many new products in 2023!
___________________________________________
First release of 2022: Marduk the Eternal
February 4, 2022
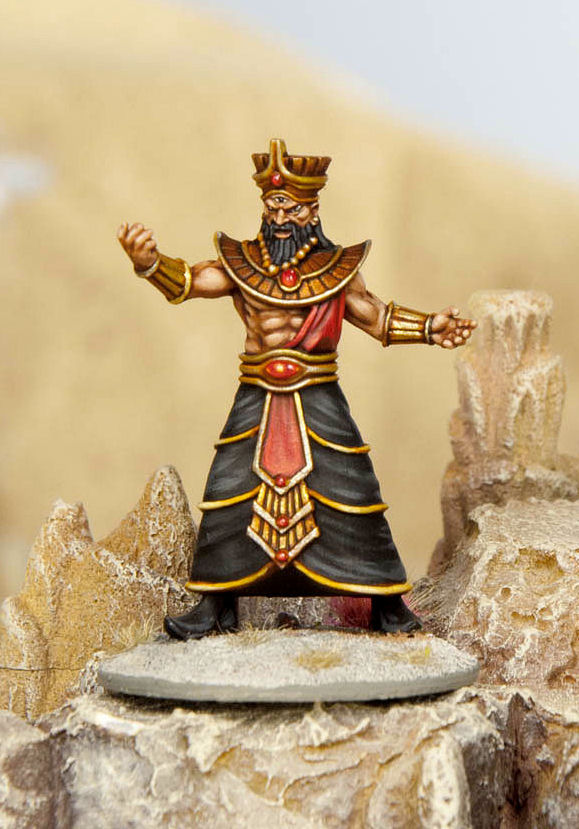
Hail Marduk the Eternal, Conqueror of the Universe!
Hydra HQ is extremely proud to release one of the key villains of the Retroverse--Marduk the Eternal. This amazing digital sculpt was created by the immensely talented Ari Nielsson and masterfully painted by the Matthew Leahy. This 32mm scale single-part model is cast in lead-free pewter. Marduk is known as the God Emperor and this massive model stands 40mm from base to top of crown. You may purchase Marduk the Eternal from the Hydra Miniatures online store HERE. You can also get the FREE rules for the Imperial forces in Retro Raygun from the Downloads section HERE.
______________________________________
Halloween Releases: King Drakka, Dragon Man 3 and Dragon Man Unit
October 30, 2021
Happy Halloween, Cadets!
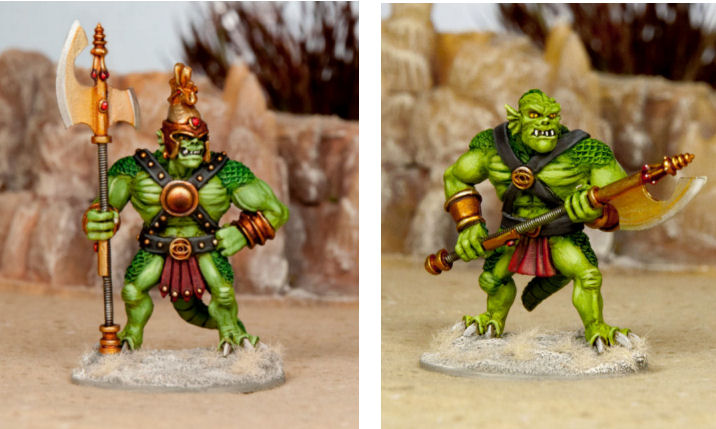
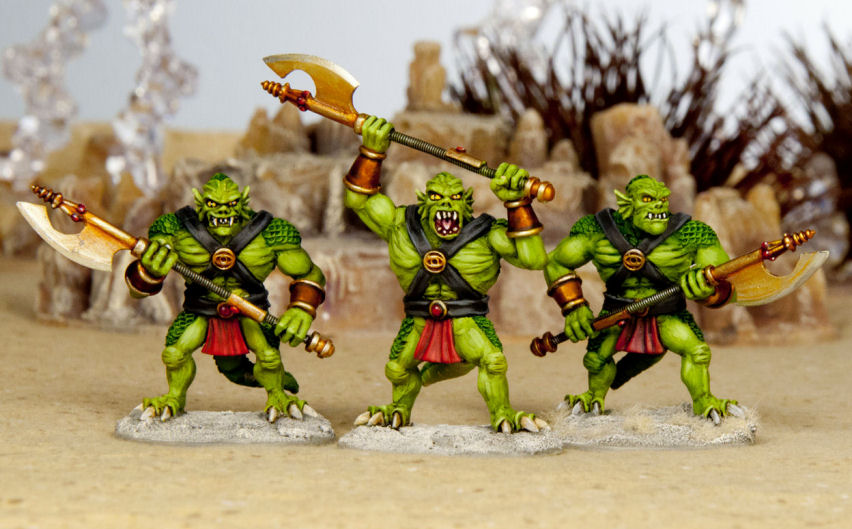
We know you're a little too old for Trick or Treating, so we have some great new products for Halloween. First off, we have am epic new Imperial character for Retro Raygun--King Drakka, tyrannical ruler of the Dragon Men. We area also releasing Dragon Man 3 and a Dragon Man Unit with all three Dragon Man models at a 10% savings. The 32mm Dragon Men were masterfully sculpted by Matthew Beauchamp and painted by the amazing Matthew Leahy.
__________________________________________
New Releases and Price Increase
Julyr 25, 2021
Greetings cadets! We have a lot of important news for you from Hydra HQ:
New Releases
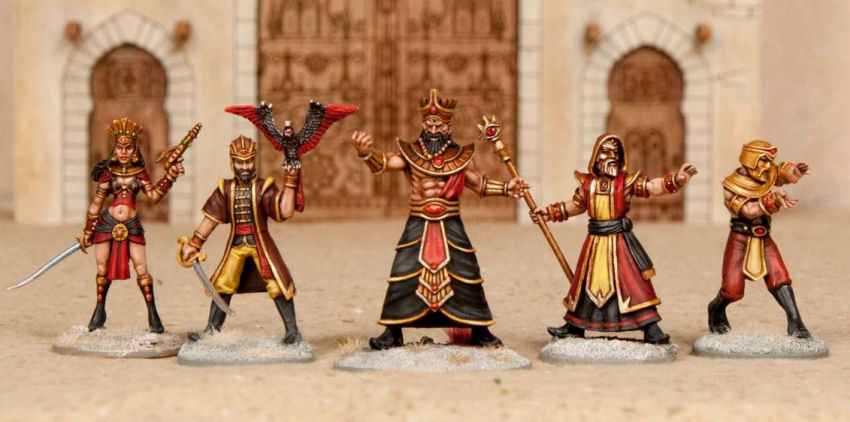
We are excited to release three new miniatures for our Imperial faction from our 32mm Retro Raygun range: Belus, arch magus of Marduk, Dragon Man warrior 1, and Dragon Man warrior 2.
Price Increase
We have been in business for over 13 years and many of our prices are the same as when we first launched. However, the prices of artist commissions, raw materials, and labor have increased dramatically. For example, the cost of the pewter alloy we use has increased by 225% in the last year alone. Therefore, we will be raising prices on most items effective August 7th. Some codes will see a minimal increase, while others will see a larger price increase. We will be transitioning some larger models from pewter to resin in order to control cost. As always, we appreciate your support!
______________________________________
New Releases: Azeemah, Imperial Princess and New Solar Studios
October 22, 2020
Greetings Cadets!
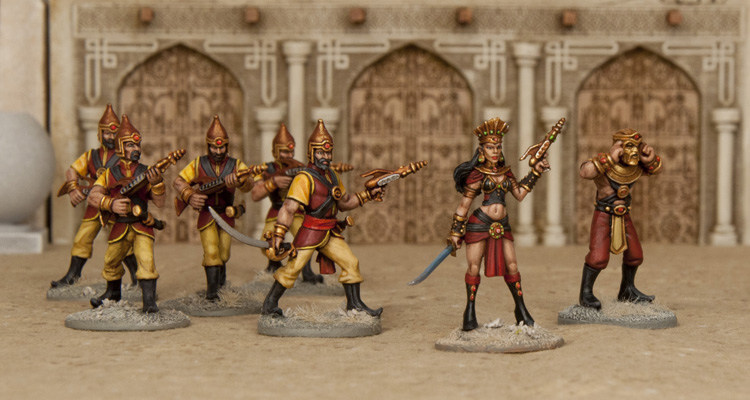
It's been a while since we've released anything new, but we have some great products available starting tomorrow, Friday, October 23rd. First off, we have Azeemah, Imperial Princess for our 32mm Imperials for Retro Raygun. The Daughter of Marduk was masterfully sculpted by John Winter and painted by the immensely talented Matthew Leahy.
In addition, we have two new releases from Solar Studios—Stellar Bystanders and Seated Spacefarers. Both sets were sculpted by Aaron Brown and are extremely useful in a variety of games. We especially like the seated figures that could be used as vehicle drivers, rocket pilots, or simply seated civilians. We are super excited about these new releases and we hope you are as well!